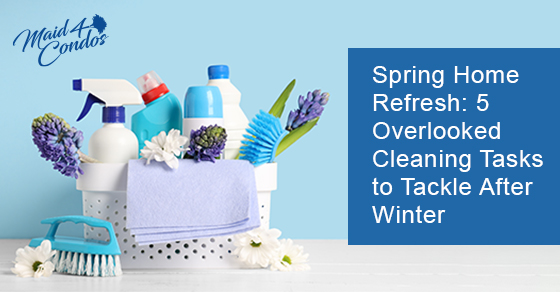
As the snow melts and windows open, spring brings a welcome breath of fresh air. But what about the air inside your home? After months of sealed windows and recirculated air, indoor spaces can become breeding grounds for dust, dander, and allergens.
In Toronto and the GTA, where we spend a large portion of the year indoors, taking steps to improve indoor air quality is a smart move, especially for families with kids, pets, or anyone managing allergies or asthma. Below are 10 targeted cleaning strategies that help remove airborne irritants and give your home a truly fresh start this spring.
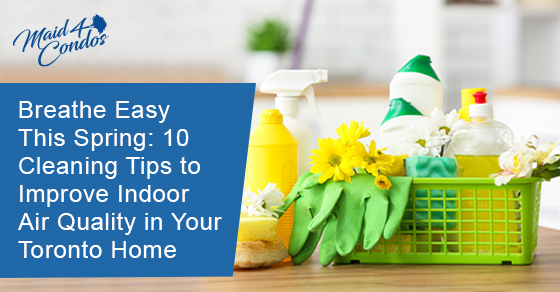
Simple Cleaning Strategies That Make a Big Impact on Air Quality in Toronto Homes
Traditional spring cleaning focuses on surfaces, but the real key to better air is eliminating what you can’t always see. Airborne particles, chemical residues, and hidden grime impact how you breathe, sleep, and feel at home. These tips are designed to tackle the invisible culprits of poor indoor air in Toronto-area homes.
1. Vacuum with a HEPA Filter
Not all vacuums are created equal. A vacuum with a HEPA (High-Efficiency Particulate Air) filter captures tiny particles like pollen, pet dander, and dust mites instead of releasing them back into the air.
In high-density areas like Toronto condos and GTA townhomes, vacuuming twice a week is essential, especially on carpets, rugs, and upholstered furniture, which trap airborne allergens more than hard floors.
2. Clean and Replace Air Filters
Air filters keep your HVAC system running smoothly and help reduce the spread of allergens. But dirty filters do the opposite.
Replace furnace and central air filters every 2 to 3 months. If you use a portable air purifier, be sure to check and clean or replace its filter on the same schedule. Toronto’s seasonal shifts and urban air quality make this an especially important habit.
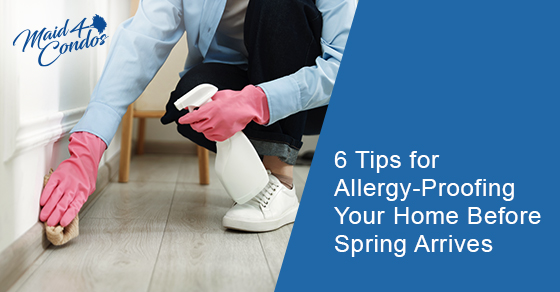
3. Dust with Damp Cloths
Dry dusting simply lifts particles into the air. Using a damp microfiber cloth captures dust instead of spreading it.
Focus on areas that collect airborne grime, like baseboards, window sills, ceiling fans, and the tops of shelves. In older Toronto homes with detailed trim or crown moulding, these areas can hold surprising amounts of dust.
4. Deep Clean Carpets and Rugs
Vacuuming helps, but deep cleaning is the real game-changer. Steam cleaning or professional carpet cleaning removes allergens embedded in carpet fibres.
If your home sees heavy foot traffic or includes pets, consider a deep clean every 3–6 months. It’s an investment in cleaner air and a healthier Toronto home environment.
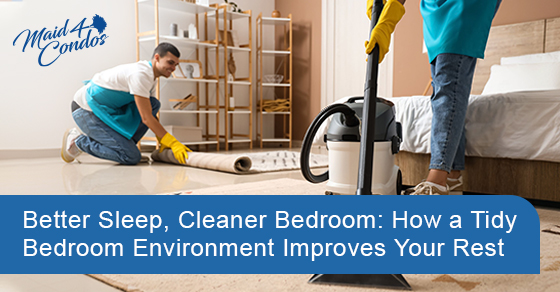
5. Wash Bedding and Curtains
Beds and curtains trap more than just light and warmth. Dust mites, skin cells, and dander accumulate quickly in these fabrics.
Wash bedding weekly in hot water. Vacuum or launder curtains monthly, depending on the material. Toronto’s seasonal pollen surges make these steps even more important in spring.
6. Eliminate Clutter
More stuff means more surfaces to collect dust. Spring is the perfect time to purge items you no longer use and reduce clutter across your living space.
Fewer knick-knacks, books, and piles make your Toronto or GTA home easier to clean and less hospitable to allergens. Minimalism isn’t just aesthetic, it’s healthy.
7. Use Natural, Fragrance-Free Cleaners
Many conventional cleaners contain volatile organic compounds (VOCs), which can linger in the air and irritate lungs.
Opt for vinegar-based or unscented cleaning solutions, especially in smaller homes and condos where airflow is limited. For Toronto families managing respiratory issues, natural products are a safer choice.
8. Clean Air Vents and Grilles
If you see dust buildup around your air vents, it’s time for a cleaning. Dirty vents restrict airflow and recirculate allergens.
Vacuum vent covers and surrounding walls. Wipe with a damp cloth to remove residue. In some cases, professional duct cleaning may be necessary, especially if your Toronto home has a musty odour or visible debris.
9. Keep Windows Open When Weather Allows
Fresh air is one of the simplest ways to improve indoor air quality. When pollen levels are low and temperatures are mild, open windows to flush out stale air.
Pay attention to Toronto’s pollen forecast, particularly if someone in your household has allergies. Early mornings and days after rainfall tend to have the lowest pollen counts.
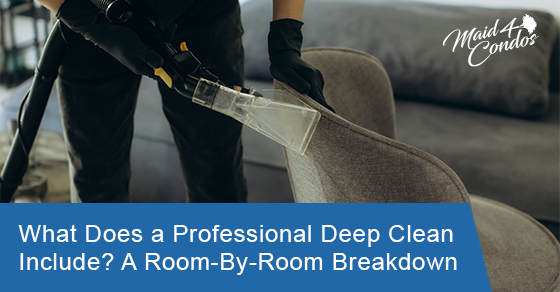
10. Schedule a Professional Deep Clean in Toronto or the GTA
Even diligent homeowners miss spots, especially those that collect dust and allergens over time. Professional cleaners use tools and techniques designed to target buildup you can’t see.
Maid4Condos provides allergy-conscious deep cleaning services across Toronto and the GTA. From baseboards to air vents, we leave no corner untouched, giving your home a true refresh.
Why Indoor Air Quality Should Be Part of Your Cleaning Routine
Good air quality isn’t just about comfort; it’s about health. Poor air can disrupt sleep, trigger allergies, and reduce your ability to focus. It’s especially important for children, seniors, and anyone with asthma or respiratory conditions.
Making indoor air quality a priority means:
- Fewer allergens and irritants
- Cleaner, fresher-smelling air
- Less dust on surfaces
- Better long-term health for your family
When you clean with air quality in mind, every effort goes further toward creating a home that supports wellness.
Let Maid4Condos Help You Breathe Easier This Spring in Toronto
Ready for a cleaner, healthier home? Don’t let hidden dust and allergens ruin your indoor air quality. Maid4Condos offers deep cleaning services across Toronto and the GTA that are tailored to your needs and designed to help you breathe easier.
Reach out to Maid4Condos today at 647-822-0601 or click here to get in touch online.
FAQ
How often should I vacuum to help indoor air quality?
At least twice a week, especially in high-traffic areas or if you have pets.
Can cleaning products make indoor air worse?
Yes, many contain VOCs. Choose unscented or natural options when possible.
Is professional cleaning really better for air quality?
Yes, pros use tools and techniques that reach deep into fabrics and vents.
What’s the best filter type for allergies?
HEPA filters are best for capturing fine particles like pollen and dander.
Should I clean my air ducts too?
Possibly, if your vents are dirty or your Toronto home has a musty smell, duct cleaning may help.